Showing posts with label crafts. Show all posts

Monday, 5 January 2015

Bosch Athlet Cracker Challenge

You know me dearest reader
I can't turn down a dare
To make, create, do something daft
I'm happy to be there.

So when I was invited
To make crackers and a mess
I was really quite delighted
As if you couldn't guess

So with my Squeaky helper
We started to create
Though Christmas is now over
We're actually not late

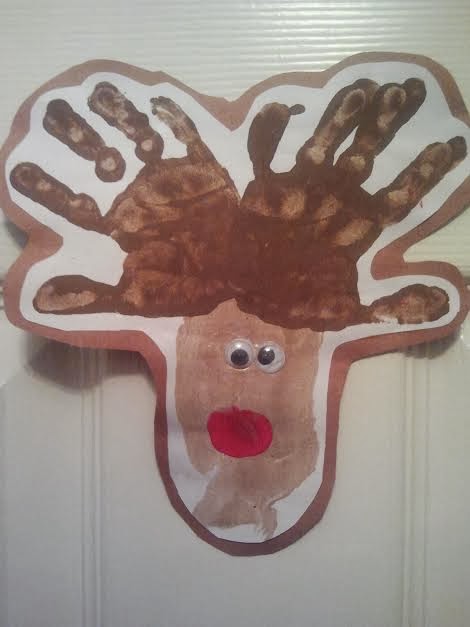
We rolled and stuffed and twisted
Crepe paper wrapped and tied
Sticky taped and decorated
And put sweets and hats inside

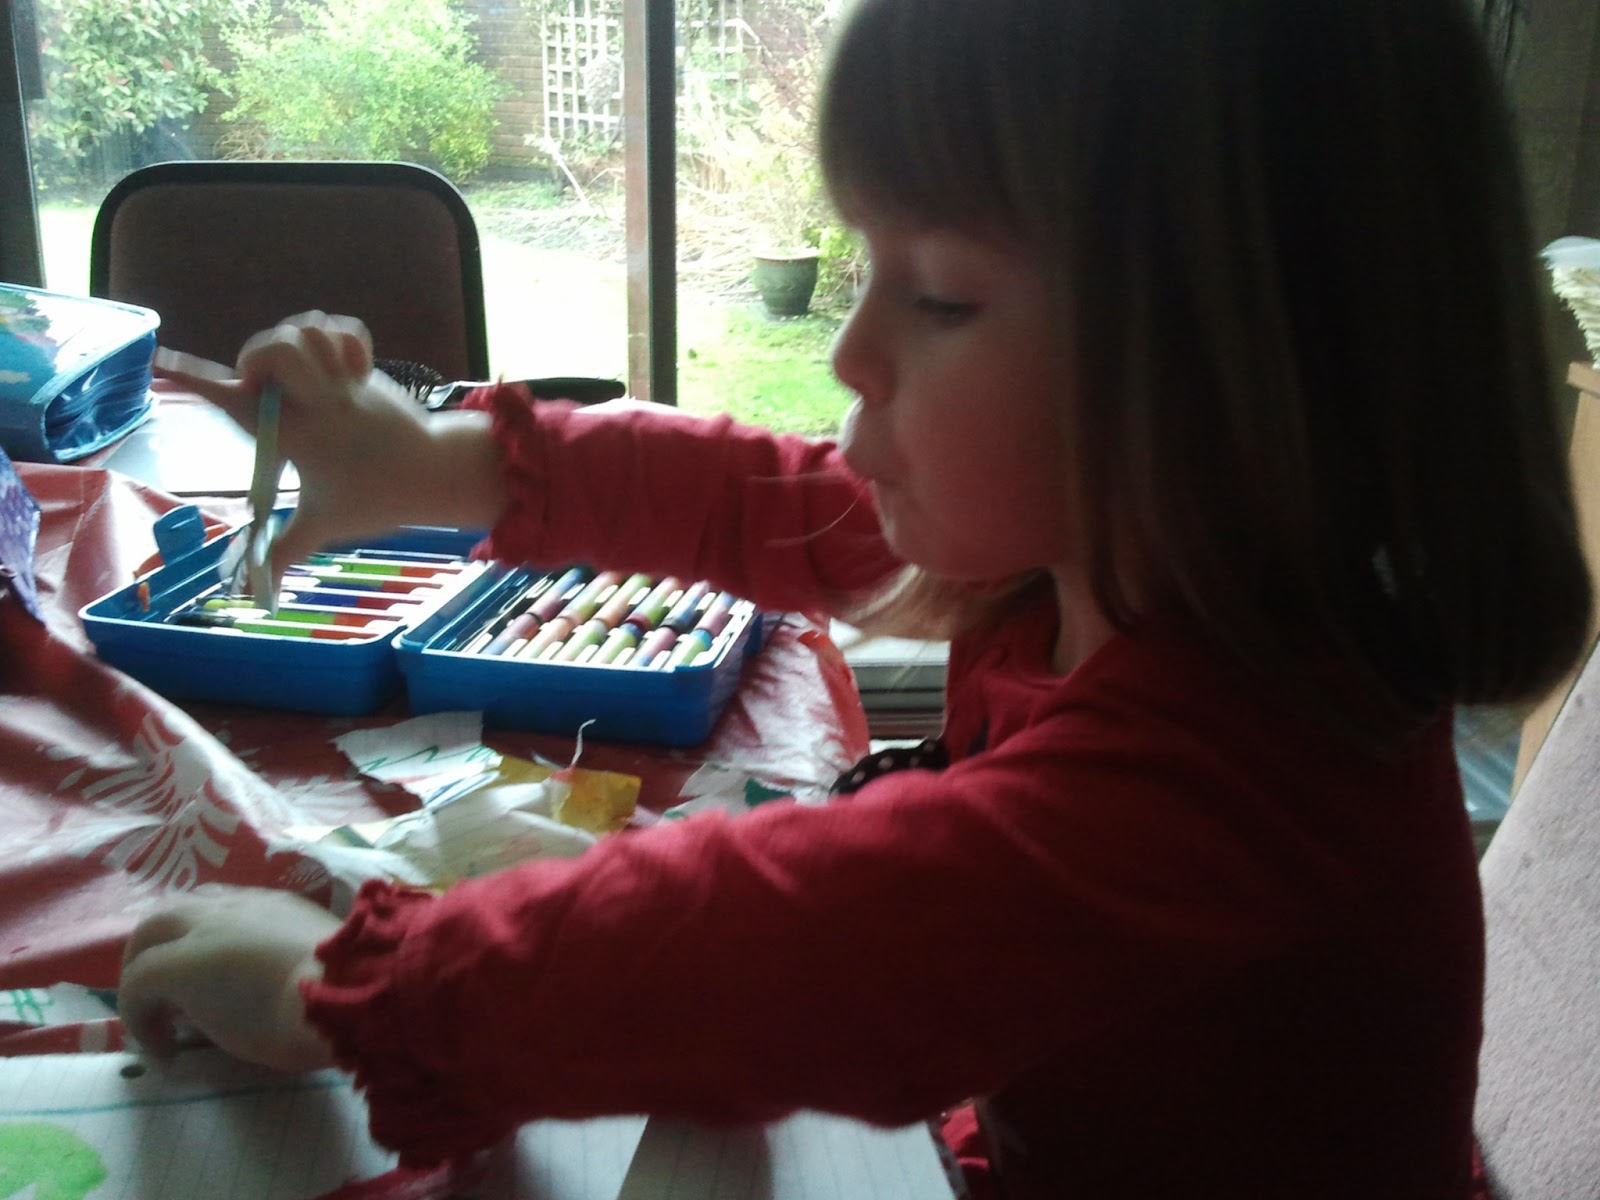
Our crafting was quite tidy
As you can clearly see
Though we still need to clean a mess
The mess that's soon to be

Coz our crackers aren't for Christmas
Squeaky's birthday's coming soon
And her friends are coming over
To mess up my living room


With crackers, fun, and movies
Popcorn, pizza, cheese
My mess is in the future
Help me Bosch Athlet, please

I can't yet give a hashtag
#showUSyourmess still to come
But I promise to save a piece of cake
If you let me be the one!


Disclosure: 
This post and awesome poem
Form my blogging entry
To the #showUSyourmess challenge
The kit was complementary

Provided to me free of charge
To help me spin my tale
And stand a chance of winning
A Bosch Athlet vacuum, £239.99 for sale

The words are all my own
And I have not been paid
Links are for convenience
No affiliate scheme made.

Friday, 30 May 2014

Windchime Keys

Squeaky's holiday homework for the Easter break (yes, it's taken me that long to write about this!) was to make a musical instrument.  Now I try very hard not to be a competitive parent, but there was no way I was sending her to school with an empty coke bottle with some dried peas in it.  If we're going to make an instrument, we're really going to make an instrument.  Know what I mean?

All good ideas start off with a google search these days. And after realising that I had neither the skills nor materials to make a real and functioning flute, and there was no way Squeaky would sacrifice enough colouring pencils to approximate a glockenspiel, I came across an idea to make windchimes from old keys.  As luck would have it, we had our windows and doors replaced over the Easter break, so I was the proud owner of a handful of door keys that were no longer in use.

I sent Squeaky & Daddy off to the park in search of suitable sticks, while I hunted through my collection of art & craft stuff for string and acrylic paints.  I also experimented with a handy coathanger just in case the sticks weren't co-operative.

Painting under way
As I only found primary colours, plus white, it turned out to be a great opportunity for Squeaky and I to learn about colour mixing and we managed to make 7 different coloured keys out of the 4 paints we had available.  Very impressive.  (The picture doesn't show the orange very well, you'll have to trust me)


Jingle jingle
 Most of the colours covered the keys in two coats, the yellow needed three as it was a bit more sheer than the others, and we painted the stick in sections to match the keys.  Crafting string to suspend the keys from the stick, and a final piece to suspend the whole chime from, and our homework was complete.  Squeaky took great delight in taking it into school and jingling it at everyone in sight.  It's due home from school soon, and I'll suspend it from the bird table to jingle in the breeze.

Maybe we put in a bit too much effort to our holiday homework, but surely homework is meant to be about learning, and fun.  We learned about colours, picking the right materials, recycling.  What does a child learn from their parent shoving peas into a plastic bottle they grabbed just before walking out of the door?

And yes, there were a lot of empty bottles with peas in.

Monday, 2 December 2013

Simple Christmas Craft - Rudolph prints

You will need:
  • Light brown paint
  • Dark brown paint
  • Red Paint
  • Card or paper
  • Googly eyes
  • Glue
  • Baby wipes
  • A child (or more than one if the mood takes you!)


 What you need to do:
  • Paint one of the shades of brown on your child’s foot.  Print this onto the paper/card to make the reindeer’s face.
  • Clean the foot!
  • Paint the other shade of brown onto each hand, and print this onto the paper, at the top of the face/foot print to make antlers.
  • Clean hands!
  • Paint red paint onto a thumb, and print this onto the face to make a red nose.
  • Clean hands!
  • Glue googly eyes onto face

Great for personalised cards, or decorations.  What grandparent could resist?  And it's a lovely way to watch your child grow, making a new Rudolph each year and measuring their hands & feet against the previous ones.

Tuesday, 6 August 2013

Glitter Pavement Paints - Pinspiration & #cbias


Disclosure: I am a member of the Collective Bias® Social Fabric® Community. This shop has been compensated as part of a social shopper insights study for Collective Bias and their client.  I have not been told what to say, all opinions are my own. Links are provided for convenience, I am not a member of any affiliate scheme & will not receive payment for their use.

I was given a shoppertunity challenge, and a free reign.  "Find something you want to do on Pinterest, and do it!"  So I took to my "Things for Squeaky" board, and once I realised I couldn't buy up the whole of Ikea, I opted for homemade glitter pavement paints based on this recipe from The Imagination Tree, as the weather's still reasonable, and it sounds like something different to do.  You can have a look at my shopping expedition here.


No nail polish! Shock! Horror!
The paint recipe was very simple - cornflour (or corn starch to those in the US), mixed with an equal quantity of water, gel food colourants, and loose glitter.  The glitter caused me the most headaches, I chose my supermarket by the one that normally has the best supply of craft stuff, but they didn't have any glitter. I called at 3 other shops that are normally really good for crafting, but still no loose glitter. Plenty of glitter glue, glitter paints & glitter pens, but no loose glitter. I ended up asking around at work & someone gave me a hint so I was able to get a stash of multicoloured glitter.

Cornflour is brilliant stuff.  I couldn't get Squeaky all that interested in the paint-making process, but she was still confused by the solid/liquid state of the cornflour & water mix.  I'm sure I've mentioned my fascination with Non-Newtonian fluids before (thanks to a couple of episodes of Brainiac), but the way the mix reacts to being stirred is just crazy.  It thickens up as you stir it, and then goes back to being liquid again when you leave it alone. To the extent that I could pick up a solid chunk of paint, and then let it pour back into the container.  I'm easily amused.


Adding sparkles
I made up the colours, mixing the food colourants to make 6 different pots of paint, and added a healthy shake of glitter to each paint pot, then headed outside with Squeaky & her friend Pirate Girl, who had come round to join in the painting fun.  It was a lovely sunny day, so just right for fun in the garden.


Investigating the paints
Old clothes on, and out for some fun.  I'd rearranged the garden to give us as much patio space for painting as possible.  As the paints were food based and non-toxic, I wasn't really worried what the girls decided to paint, as I was confident it would all wash off with a hosepipe. Or shower if it was the girls themselves.


Good job really, as they quickly decided to paint themselves.  It's the freedom of being allowed to do the daft things you're normally told off for.  But that's part of why I chose this activity - a chance to explore colour, texture and art in a different way.  You want to paint your face? Go ahead.


Or your feet.  Strange girl.


And my garden chairs.  As you can see, the paints dry to a chalky kind of effect, and while they run a bit, they're much neater than traditional paints, as they were quite thick.

It wasn't just mess though, we did make some bits of real art.
Sunshine

It's tricky stuff to get used to - it was quite hard to paint as you'd normally do, as the tension of dragging the brush on the floor made the paint thicken up (non-Newtonian again). So it was easier to dab than to brush, which is where the sponges came into their own.  I think I'd make the paints slightly thinner next time, they might be easier to draw with that way.


The girls insisted I made a second batch of paints, a couple of slightly different colours this time, so they could carry on painting themselves and every available surface - including a couple of slightly confused balloons.  What those poor balloons had done to deserve such treatment, I really don't know.


Our finished sunshine, and accompanying raincloud.  Quite appropriate for the Welsh weather really.  I think we might have a new Sian Lloyd on our hands with these two.


The glitter didn't show up quite as much as I'd hoped from the amount that you could see in the paints. It was quite subtle once the paints were used.  But I like the effect, and I think if there had been much more glitter involved, I would have struggled to clean up.

As it was, the patio cleaned up really easily, given 5 minutes with the hosepipe, the chairs much the same.  The windows took a little bit more work, because the paint had smeared on them a bit, but even there, we're not talking a lot of effort.  The girls cleaned up just fine with a handful of wet wipes & a quick dip in the bath.  In fact, by the next day, the only way you could tell we'd been up to anything was the food colourant which had stained my fingers while I was mixing the paints.  I'll wear gloves next time.

Monday, 4 February 2013

Steve The Pet Dragon

"Mummy, I want to make something!"  6 words.  6 words that mean 2 hours of preparation, hunting down crafting supplies & scrap from the recycling bin.  Followed by 2 minutes of intense concentration, and mummy spending the next half hour carefully creating a whatever whim passed through the head of a preschooler in the ad break between Peppa Pig and Ben & Holly.
Deep in concentration

This week it was "Mummy, I want to make a pet dragon!"  While I was still in my pyjamas.  Somehow, we managed to postpone making dragons until after breakfast.  There's no way I'm doing craft activities when I can't see straight yet!  Somehow, I gathered together a random assortment of junk from our "rainy day drawers" (mostly sourced from the closing down sale at Woollies, bored moments in Wilkos, and leftover tat from long since abandoned craft ideas of my own).  Added a few bits & pieces from the recycling bin, and we were off.


So, I've no doubt you're wondering, how DO you make a Pet Dragon?

Ingredients
One empty toilet roll tube
One empty Yeo Valley yogurt pot (other brands are available, but the shape was good)
One A4 sheet of green sugar paper
Some green tissue paper (toilet roll would probably work too)
A small piece of red sugar paper
Glitter Glue
2 Googly eyes (you mean you DON'T have a stash of googly eyes?)
Sticky tape or sticky pads
PVA glue
Green paint

First, paint your toilet roll tube green.  This is the bit your preschooler will actually deign to do.  Maybe.

Cover your yogurt pot with PVA glue, and then stick the tissue paper to the pot.  Be a bit rustic.  It's a dragon, not Kate Moss.

Put them both to dry for a few minutes.

Cut your piece of green sugar paper in half.  Make one half into a cone for the tail, and use sticky tape to fix it together.  Fold the other piece in half again & cut out two wing shapes.

Attach googly eyes to the front of the yogurt pot, and cut a tongue shape from your red paper, and stick this to the front of the yogurt pot too.

Stick the toilet roll tube to the inside of the yogurt pot using sticky tape to form the body.

Stick the cone of paper to the inside of the toilet roll tube to form the dragon's tail.

Stick your wings to the underside of the dragon's body, so they are flappable.

Decorate using glitter glue.

Take daft photos of a toilet roll dragon eating from your birdtable.

The dragon is called Steve.  For some reason EVERYTHING is called Steve at the moment.  She doesn't even know anyone called Steve, except for a cousin of mine who she hasn't seen in a couple of years.  But this is Steve the Pet Dragon anyway.  He's quite a welcome addition to our household, as I've had to be a pet dragon a lot recently and crawl around on my knees making firey noises, and apparently making toast.  Welcome to our home, Steve!

Monday, 2 April 2012

Magpie Monday - The green shoots of spring

I know, it's been a while, but I've been gathering up a few treasures to share with you over the coming weeks (or as often as I remember), so I thought I'd share a single beauty today.

My lovely friend MummyMandy, PirateGirl's mummy, is a whizz with a sewing machine. She makes me quite envious to be honest.  Anyways.  I was out & about in Caerphilly a few weeks back, when I spotted something in the hospice shop that really caught my eye.  Let's face it, it was pretty hard to miss a double duvet cover in this fabric!


For the princely sum of £1.50, I was the proud owner of a huge quantity of  green fabric with flowers on it that screamed "Hello and welcome to the 1970's".  It would've been rude not to, right?

The lady on the till was a bit upset when I vaguely mentioned making something out of it, so I quickly had to backtrack & say that it doesn't match my bedroom at the moment, but we're thinking of redecorating (true, we freshened up in the same colours), so who knows.

I had a million ideas for what I was going to do with this, except I realised one important fact.  I can embroider, cross stitch & tapestry for England, but actual making-stuff sewing? Not a chance!  Buttons & hems are as far as it goes.  My kindle case will have to come from eBay, because I'd like one that doesn't fall apart.  So MummyMandy now has a huge quantity of insanely green bedding, and I can't wait to see what she creates with it.

Oh, and to give you some idea of her creations, take a look.  Those of you who have been paying attention will have seen this picture once or twice before, but I can't resist using it again, it's so cute!  MummyMandy made this apron for LaSqueak, and we love it.  More another time.


Keep up with the Magpies! Me and My Shadow

Saturday, 10 December 2011

Christmas Photo Crafts

How could I possibly choose anything else?  I'm not exactly gifted in the crafting stakes, I have to admit, but be honest, who could fail to smile when greeted with a Christmas Card, thank you card, or generally anything, with this photo on it? Just imagine - baubles, gift tags.  In fact, that could be the way to go, gift tags with the recipient's photos on them, rather than writing.


I'm writing this post, brief though it is (the photo makes up for it, right?), as my entry for the Christmas Photocraft Challenge with Britmums & Kodak.  Give it a go yourself!

I'm Taking Part in the Kodak Christmas Photo Craft Challenge

Monday, 5 September 2011

Magpie Monday - Back on it again

After a break due to, well, all sorts of stuff really, we're back on the Magpie Monday trail today.

We were talking last week in work about charity shopping & the like, and I learned that the big car boot sale on Sundays, that had mysteriously vanished for a while, was back, and as big as ever. So yesterday we took a little ride out over there to see what we could find.

I bought some fake designer make-up, so if Caerphilly's trading standards are reading this, get in touch & I'll find the bloke for you.  I actually don't mind, it seems pretty good quality, but we'll reconsider it after a day's wear.  How do I know it's fake? Aside from the price, there's spelling mistakes on the back of the packs, which is always a giveaway.  No photos of this, because, well, who really wants to see my makeup?

I also bought this lovely cross stitch kit.  I've recently got back into cross stitch after brief, failed excursions into things like knitting & crochet, and the kits are SO expensive.  The lady even threw in some sparkly pipe cleaners, so I'm open to suggestions for what I can do with them? Sparkly Hallowe'en spiders?  I've lost all my crafting ideas.

And finally...  Squeaky's been having sleeping "issues" lately.  She's outgrown her 12-18 month sleeping bags, and is such a little wriggler, she fidgets out from under the covers and then wakes up at about 5 in the morning, freezing cold, and ends up having cuddles with me to go back off to sleep.  18m+ sleeping bags are really hard to come by, at least in normal shops. I've found some online but dear me, they're expensive.  You can imagine how happy I was to find this one on the last row of the boot sale, and how even more excited to find that the lady only wanted 50p for it!  I could have kissed her!  Quick whizz through the machine & it'll be saving my sleep and sanity.


More magpies at Me and My Shadow